For the last three Thanksgivings, I’ve brined my turkey. I’ll admit, I sorta got caught up in the hype, the trendiness of having a fool-proof, uber-juicy bird. And sure enough, it got rave reviews from my family.
However, this also coincided with me starting to use farm fresh turkeys. So in the back of my head, I always wondered if the improved results were a product of that or the brining or both.
So I started doing some research. The more I read, the more I started to change my mind about brining. The osmosis thing sounds good in theory, but it really just creates the illusion of a moist turkey. In reality, it’s more of a watery turkey. (And, to be perfectly honest, it’s sort of a pain in the ass).
Then I read this food lab article, which actually did side-by-side tests of different techniques. I’m a sucker for a good experiment, and simply salting the poultry was the clear winner. Similarly, this L.A. Times article touts the “Judy Bird” technique used by Zuni Cafe in San Francisco. Considering I love the roasted chicken at Zuni, I was officially sold. No more brining. Or, I should say… no more wet brining. The Judy Bird recipe is considered a dry brine.
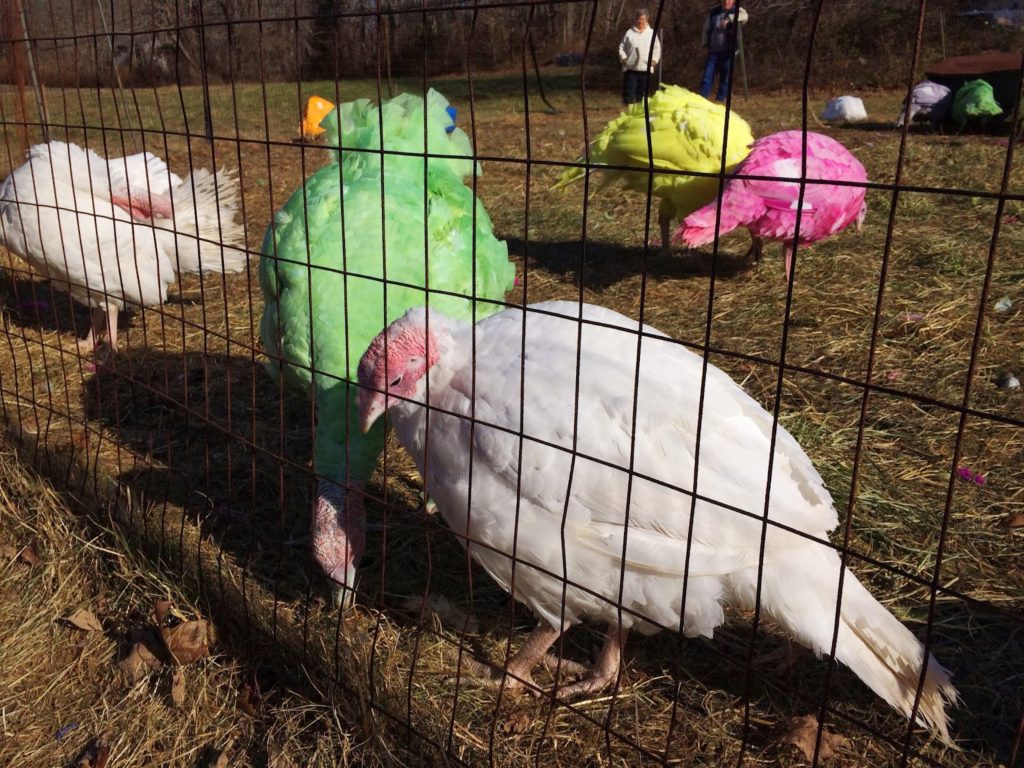
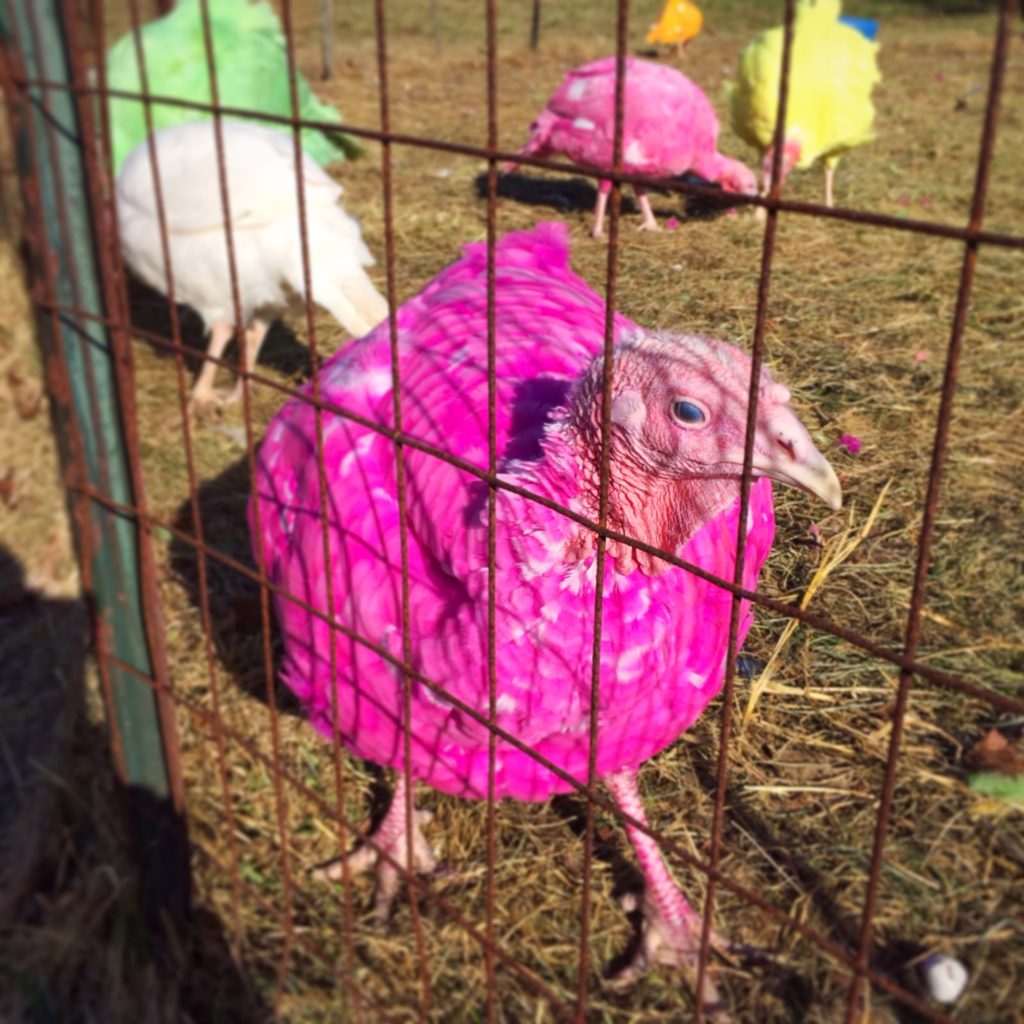
But first thing’s first. Always, always, always start with a fresh turkey. This will make a HUGE difference. I got mine from Gozzi’s Turkey Farm in Guilford, CT. Don’t worry, the colored turkeys are just for show. What they’re really known for is their white turkeys. The Gozzi family was one of the first ones on the East coast to develop a strain of white ones. In fact, the Gozzi White has become known for its thick breast and moist meat.
Due to my work schedule (I’m working 6 days this week), we celebrated a week early this year, which worked out great because my family was able to fly for cheaper and I was able to take a few days off of work to spend time with them. It also provided great advance research for the blog, so I can share this information with you before you roast your turkeys this week!
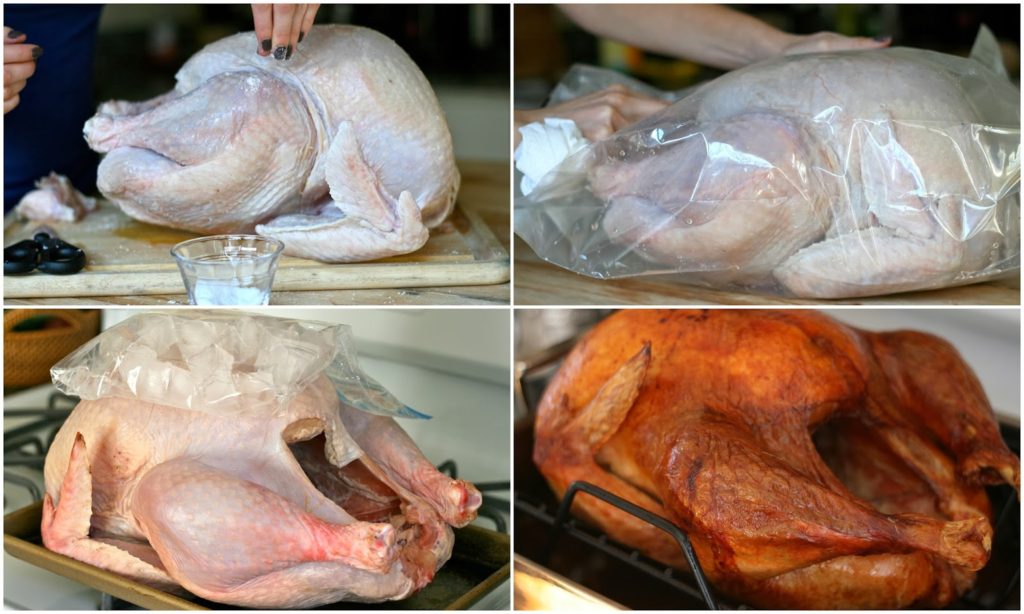
If you plan to use the dry brine (read = salting) method, you’ll need to get started soon. This technique requires salting 2-3 days before you plan to roast the turkey. You’ll use about a tablespoon of salt per five pounds. For the complete instructions, click here to read the L.A. Times article.
I followed the steps exactly, with three additions:
1.) When I took the turkey out of the fridge on roasting day, I iced the breasts for about 45 minutes, a technique recommended by Harold McGee. The thinking is that the breasts tend to cook faster than everything else, so this ensures that part of the turkey starts at a lower temperature, which allows for everything to finish cooking at the same time. Made sense to me, so I decided to try it. (This can also be achieved by roasting the turkey upside down for a portion of the cooking time, but the idea of trying to flip a hot, 18 pound turkey didn’t sound like something I wanted to mess with).
2.) I also liberally coated the turkey with oil or butter (I can’t remember which) to help with the browning.
3.) I increased resting time from 30 minutes to an hour. (If you’re worried about the meat getting cold, it won’t. And if it does, you can pour hot broth over the carved slices).
The result? Tasty, juicy, beautiful Thanksgiving turkey.
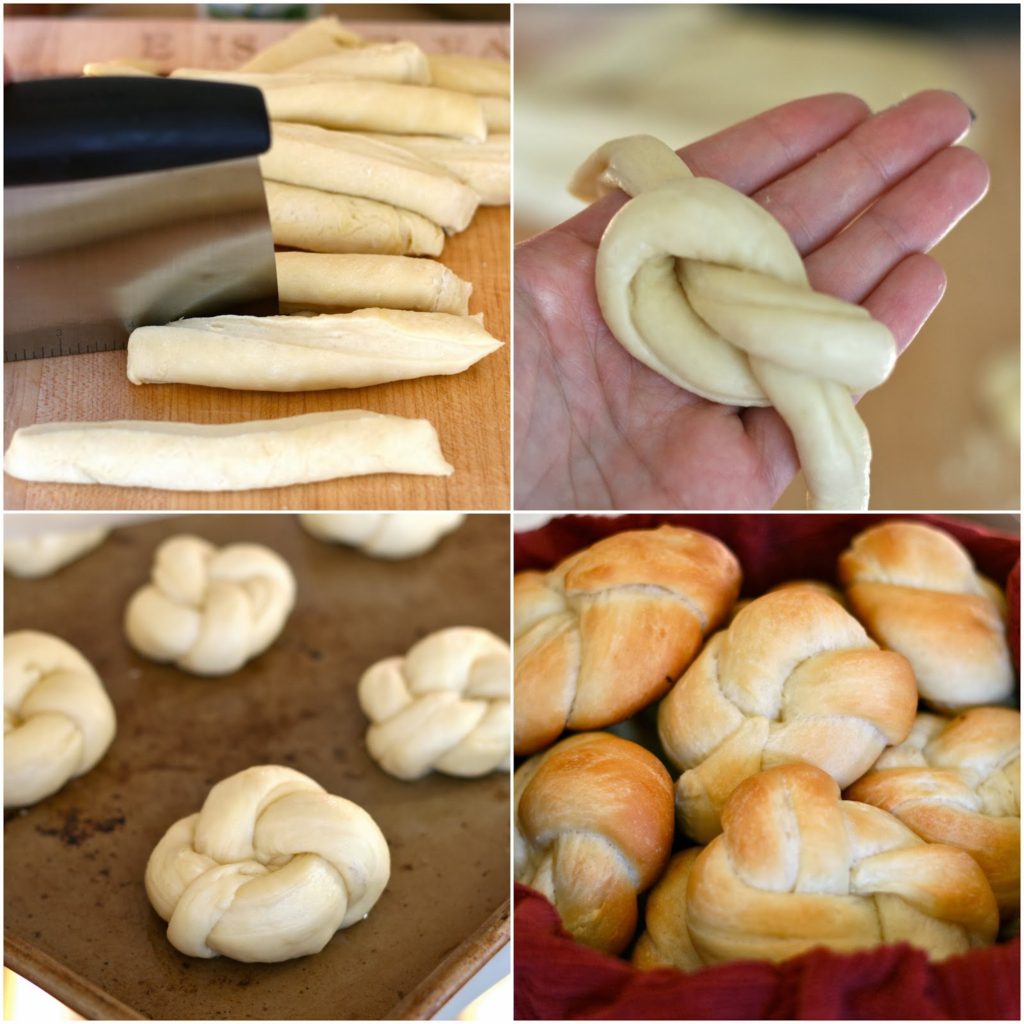
I also did my annual attempt at baking bread. (Not a baker). The good news… this simple
knot technique produced gorgeous rolls. Just don’t look at the bottoms of them. I
mayyyyy have forgotten them in the oven for a few minutes too long. (Why must I
always burn the bread?!)
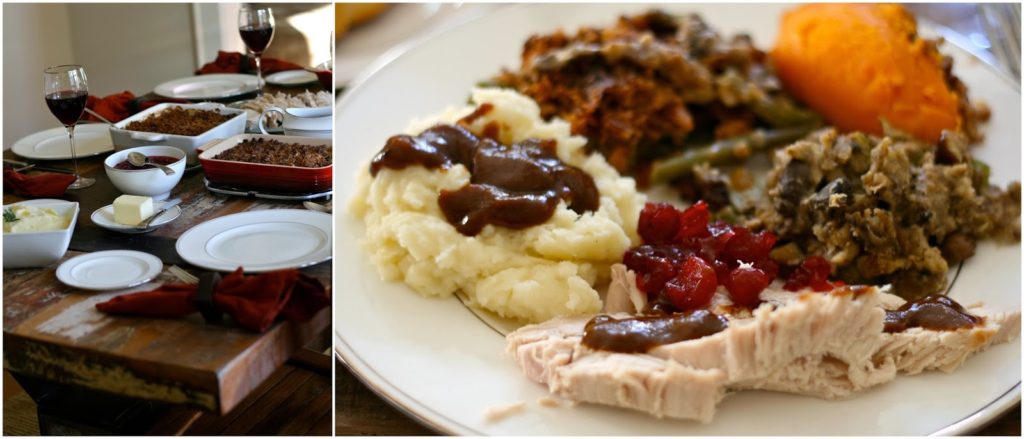
My lovely farm table was a perfect backdrop for our lovely pre-Thanksgiving meal. Aside from the delicious turkey and burnt rolls, we enjoyed my version of
green bean casserole (using homemade ingredients),
Grand Marnier cranberry sauce,
pecan candied sweet potatoes,
garlic mashed potatoes (with a new secret ingredient this year… more on that tomorrow), and a delicious chestnut stuffing, courtesy of my boyfriend, who was able to join us as well. We also had a ridiculous amount of desserts purchased from local sweet spots, which I’m still tempted by every time I open my fridge.
If I don’t get called into work, I will be spending actual Thanksgiving day with friends who have graciously ordered a turkey dinner so we can spend more time drinking and socializing. I will likely bring this kale and butternut squash salad and possibly a few other appetizers or treats I’m working on for the blog. What are you making this year? Would love to hear about it in the comments section. I hope everyone has a wonderful Thanksgiving!



Janette @culinaryginger
November 26, 2013 at 6:02 amI like to wet brine. I always brine my weekly roast chicken as well, makes all the difference and if I skip it, the difference is night and day.
gramps
November 26, 2013 at 2:50 pmI'm also making a "Judy Bird". First time for me.
It is happily brining as I write this
Like the idea of ice on the breast prior to cooking.
Niners finally won one last night—looked pretty good for the last half of the game
jaymeesire
November 27, 2013 at 3:05 amAwesome… let me know how it turns out! Go 9ers!
GoGiants
November 27, 2013 at 2:42 amI've made a "judy bird" 2 of the last 3 years. The first year I bought an inexpensive Safeway turkey and it was easily the best turkey I've ever had. Sorry Mom. I rubbed a little cumin on the skin before roasting. It was beautiful! Last year I bought a heritage turkey that was 700% more expensive and dry brined it as I had before and do often on chickens. I was curious what the method would do for an expensive bird with a firmer texture and gamier flavor. Again, it turned out beautifully and was the star of the show. In my opinion the dry-brine method produces the best turkey, and can even turn an inexpensive store bought turkey into something great. The wet brine "plumps" up the meat too much for my liking.
Cindy Huber
November 28, 2013 at 5:49 amLoved your blog…trying the dry-brine turkey this year…started out trying the wet-brine, but accidentally dumped turkey and salt water all over the floor…the kitchen floor still crunches when I walk in there…