Whewwwwww. This post has been quite the adventure.
It started out as a simple idea…
I wanted to make gnocchi. (pronounced NYO-kee)
Then I decided I wanted to make ricotta gnocchi.
Then it turned to gluten free ricotta gnocchi.
Why did I want to make it gluten free? To be honest, I have no idea. While I do cook gluten free sometimes, I don’t have a gluten allergy. I don’t write a specifically gluten free blog.
But boy, when I get an idea in my head, look out. It’s like I just hone in on this one thing and I become obsessive about it. Like… to the point that I made my boyfriend go out in the freezing cold with me on a Friday night to get more ricotta after I messed up the first batch.
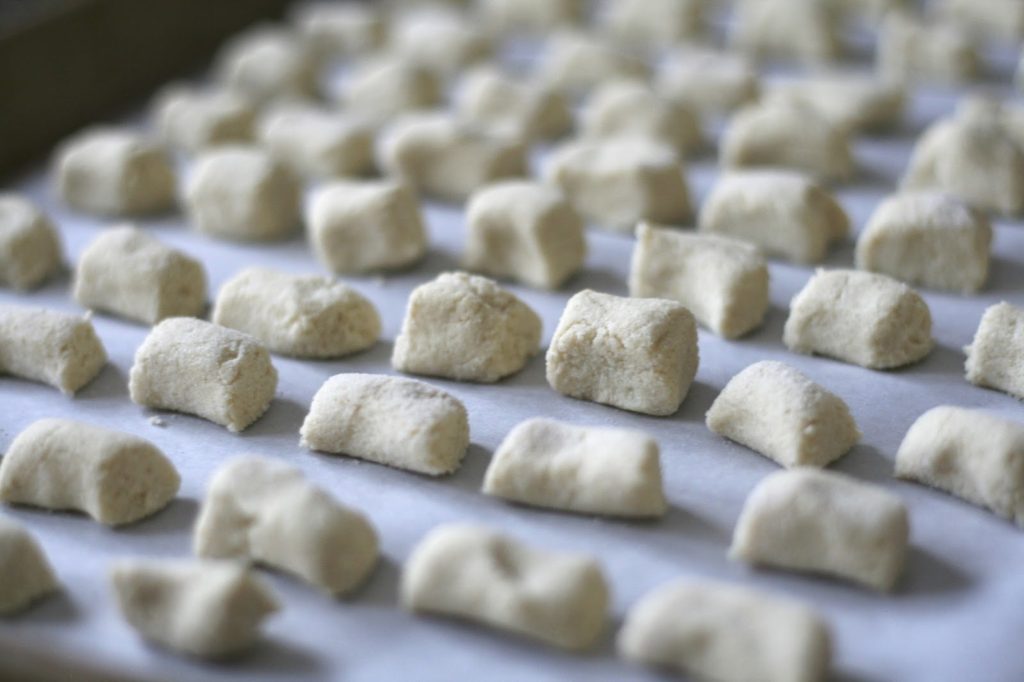
Oh the first batch. Look at them. So pretty. So MANY of them. So many inedible gnocchi. Basically, I went to Whole Foods and just bought whichever gluten free flours sounded like a good flour cocktail for my gluten free masterpiece. I bought some brown rice flour in bulk. I picked up some tapioca flour and quinoa flour. And I had some garbanzo bean flour at home leftover from my chickpea fries.
I will say… they mixed up nicely. They had the right consistency of gnocchi. But they tasted… well, terrible. I’m blaming it on the quinoa flour. I like quinoa. I even enjoy quinoa pasta. But I did not enjoy this. It had an overpowering quinoa taste that you just couldn’t shake no matter how much butter you slathered onto it afterwards. And then there was the brown rice flour, which I used for dusting and forming the gnocchi. It gave it a very weird, mealy consistency. My poor boyfriend willfully served as my gnocchi guinea pig and ate plate after plate of the stuff as I tried to fix it. But it wasn’t fixable.
My next idea was potato flour for batch #2. Made sense, as traditional gnocchi is made with potatoes. I’m not sure what it was about the potato starch, but maybe because it was SO starchy and I could only use a little bit, it essentially turned my gnocchi into boiled cheese with some potato flavor. I will say, they did taste OK, but it was just a weird, weird consistency. Fortunately, I only used half of my ricotta container so I could take a crack at batch #3.
Since I liked the taste of the chickpea fries, and I had used tapioca starch for Brazilian cheese bread in the past, I decided to just whittle it down to those two. (BTW… tapioca starch and tapioca flour are the same thing). I did sprinkle in a little of the potato flour for taste, but I’m not sure this was entirely necessary. One thing I did not try was simply an all-purpose gluten free flour (see update below). Perhaps that would have been the simplest solution. So if anyone has tried that, please let me know about it in the comments section! (And of course, if you aren’t cooking gluten-free, just substitute with regular AP white flour and you should have no problems whatsoever).
Update!! As one commenter suggested below… King Arthur All Purpose Flour worked like a charm (of course). So feel free to use my concoction, or, save yourself some cash and just use the AP stuff. Another reader suggested Thomas Keller’s Cup 4 Cup gluten free blend, as I know a lot of SF restaurants offer it for gluten free pasta.
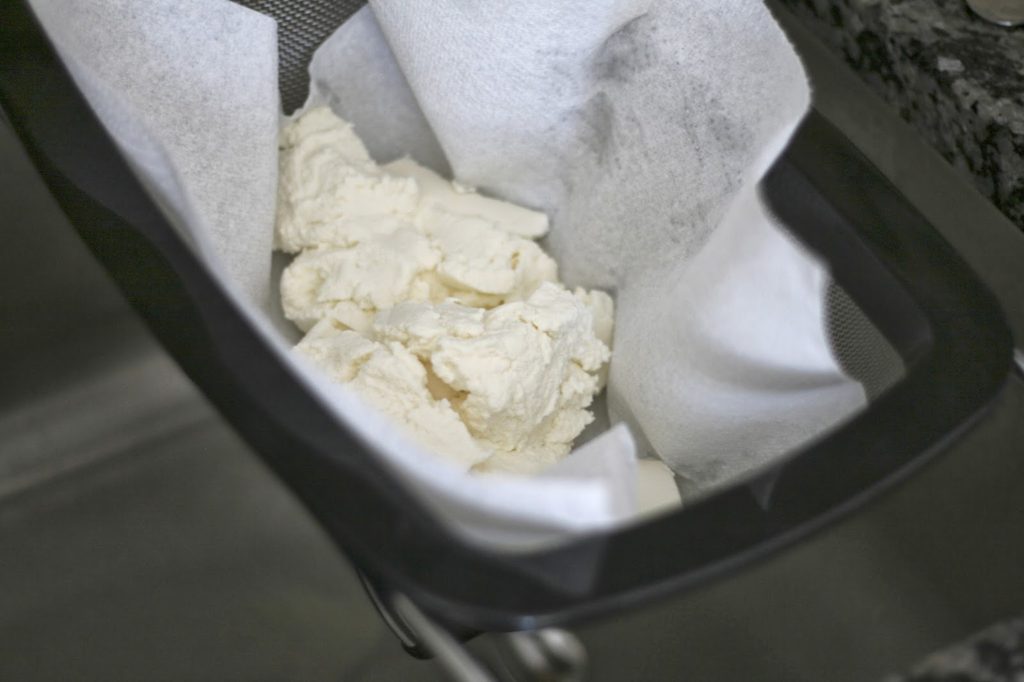
First thing’s first. Let your ricotta drain. To do this, place a paper towel in a fine mesh strainer and let it sit over the sink for at least an hour. And if you are planning ahead, you can let it sit in the fridge overnight in a strainer over a bowl, wrapped in cheesecloth or paper towel to truly get all of the excess moisture out. The drier your ricotta is, the less flour you will need, and the lighter your gnocchi will be. (P.S. I used low-fat ricotta and it turned out just fine).
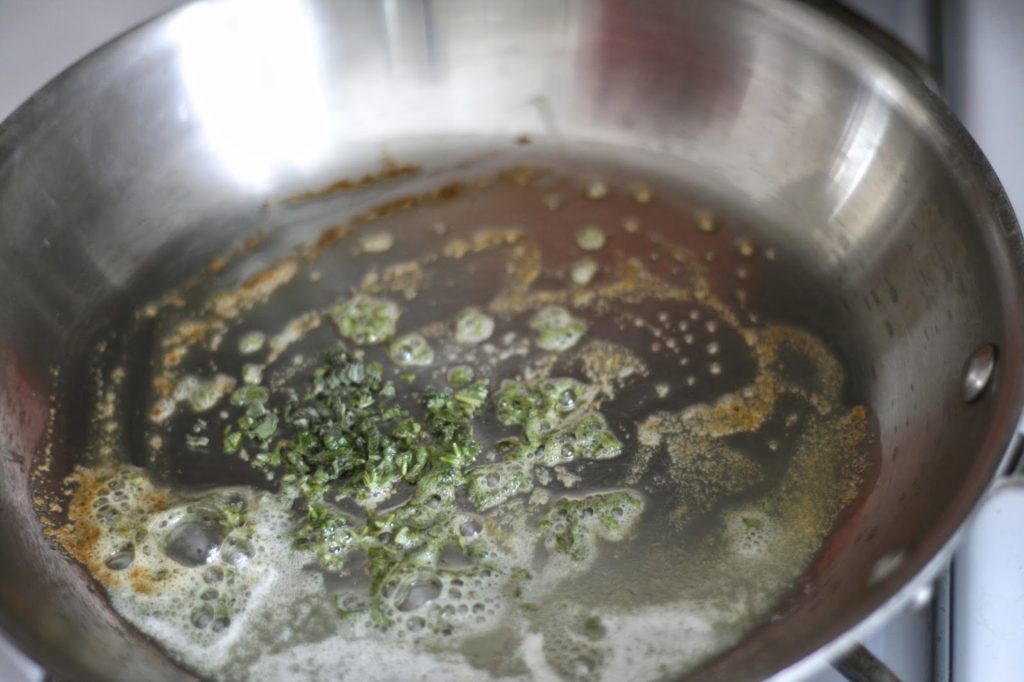
In all of my gnocchi testing, I realized that ricotta is kinda bland if you don’t season it. I decided a little butter with fresh herbs would do the trick. I used only 1 tablespoon of butter and I threw in the herbs right before the butter totally melted. Swirl it around for a bit and then take it off the heat. I went with a mixture of sage and thyme, but use whatever you like or have available.
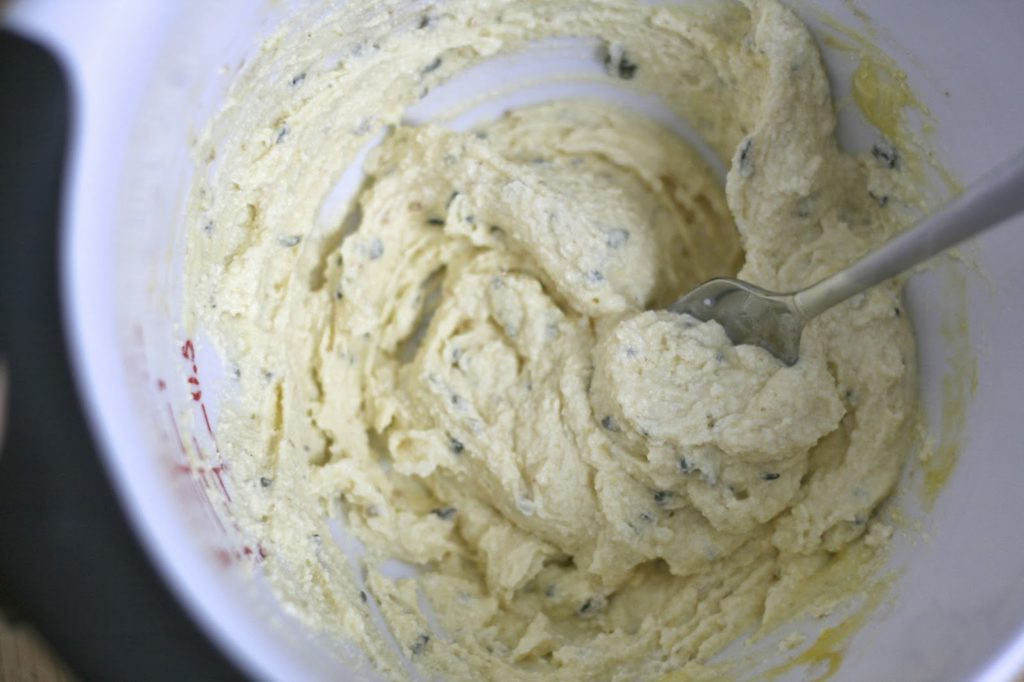
Combine your herb butter mixture with 1 cup of ricotta (about half of a normal-sized container), with 1 egg, and 1/4 cup of grated Parmesan cheese. Season with sea salt and ground pepper (I used about 7-10 grinds of sea salt and 5 grinds of black pepper if you’re counting at home). If you want to use the entire container of ricotta, just double everything. The recipe as written will make 4 servings, but you can easily freeze extra (see below)… so it’s up to you how much you would like to make!
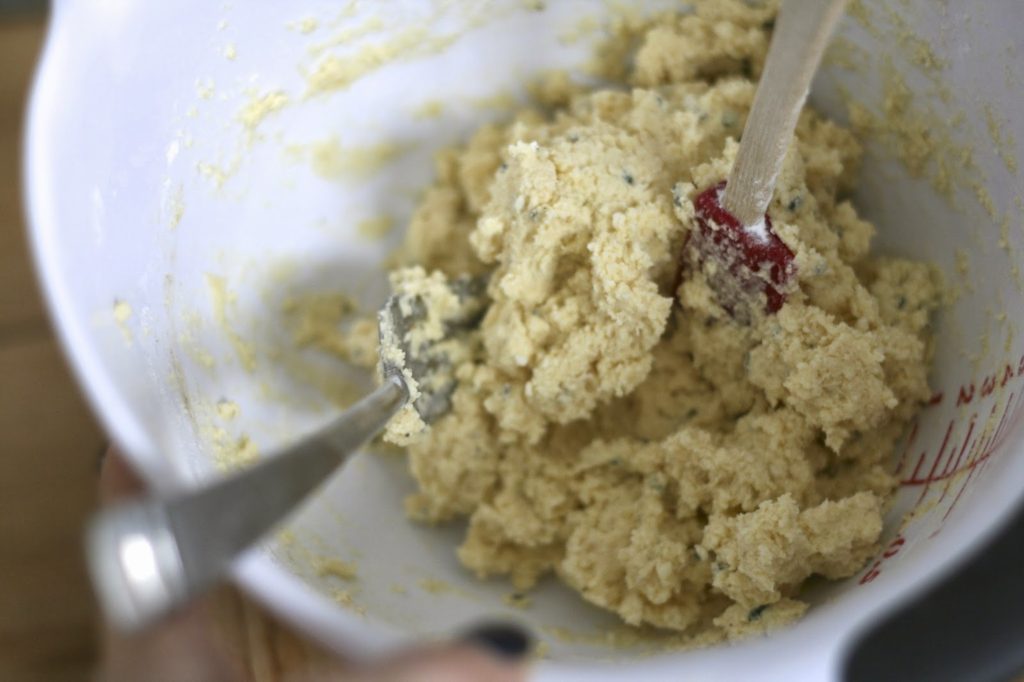
Next, start mixing in the flour. Mix it in, about 2 tablespoons at a time until you have the consistency of cookie dough. You don’t want it to be super sticky, but you don’t want it to be like bread dough either. (I ended up using about 1/2 cup of the 50/50 garbanzo/tapioca mix and a tablespoon of potato flour… plus a little more of the 50/50 mix for shaping). Remember, the less flour, the lighter the gnocchi. If you want, you can let it rest in the fridge for 15 minutes to help with the shaping, or just go right at it.
Before you totally shape your whole batch of dough, you’ll want to test it out first by boiling a small piece. (More on that below). Once you have the right consistency… shape away!
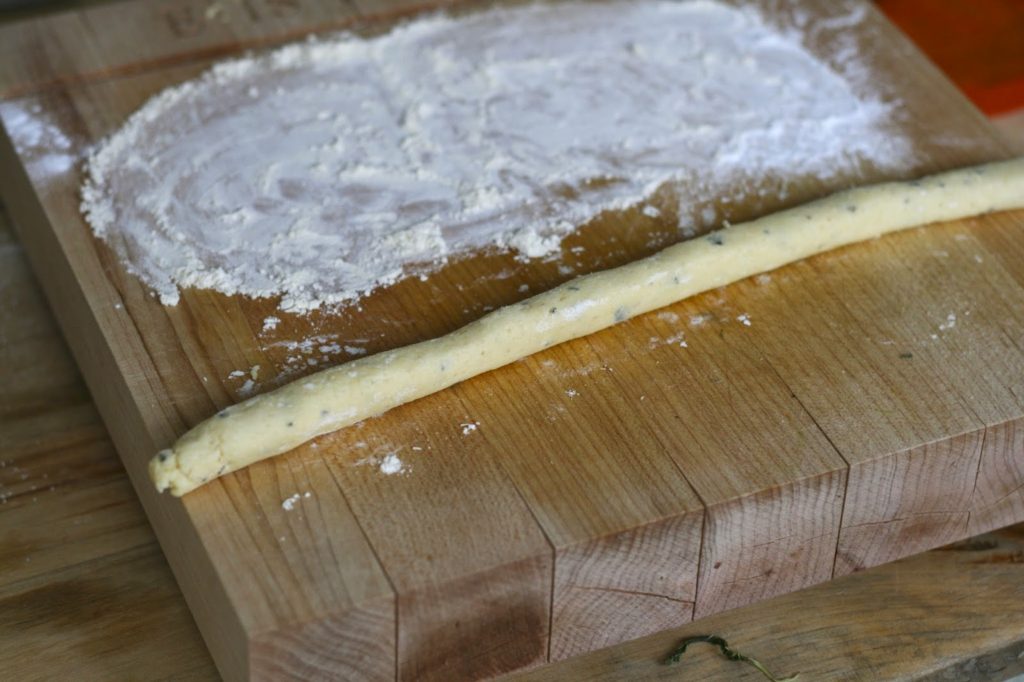
To do that, grab a tennis-ball sized piece of dough. Roll into a long rope, about 3/4″ thick. You may need to add a little flour as you go to keep it from sticking.
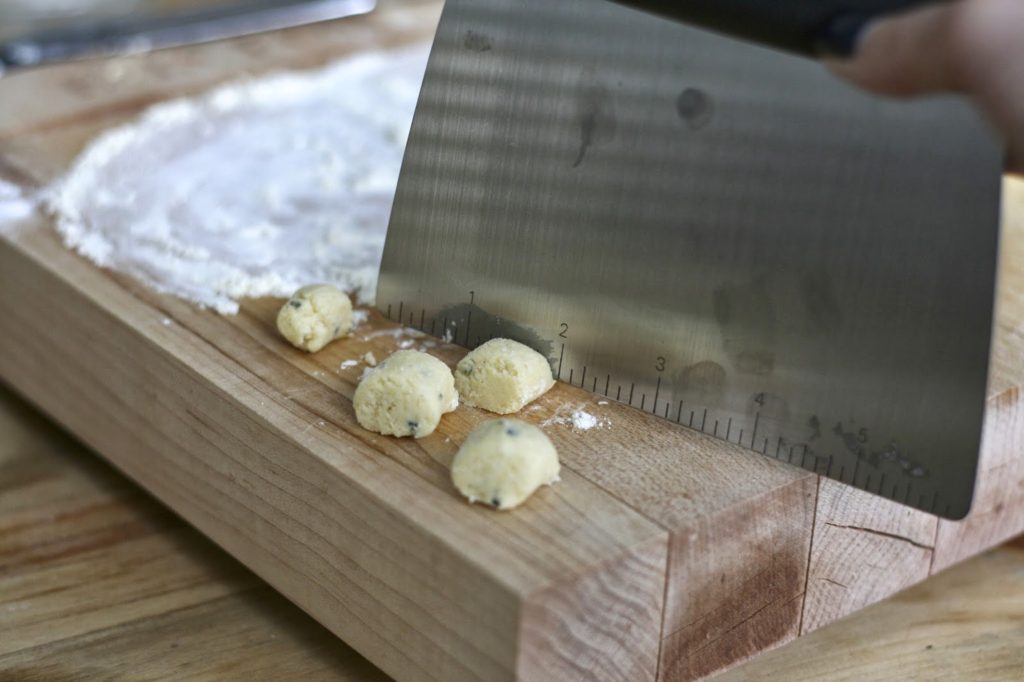
Then using a bench knife, cut the gnocchi into the little “pillows,” about 3/4″ thick.
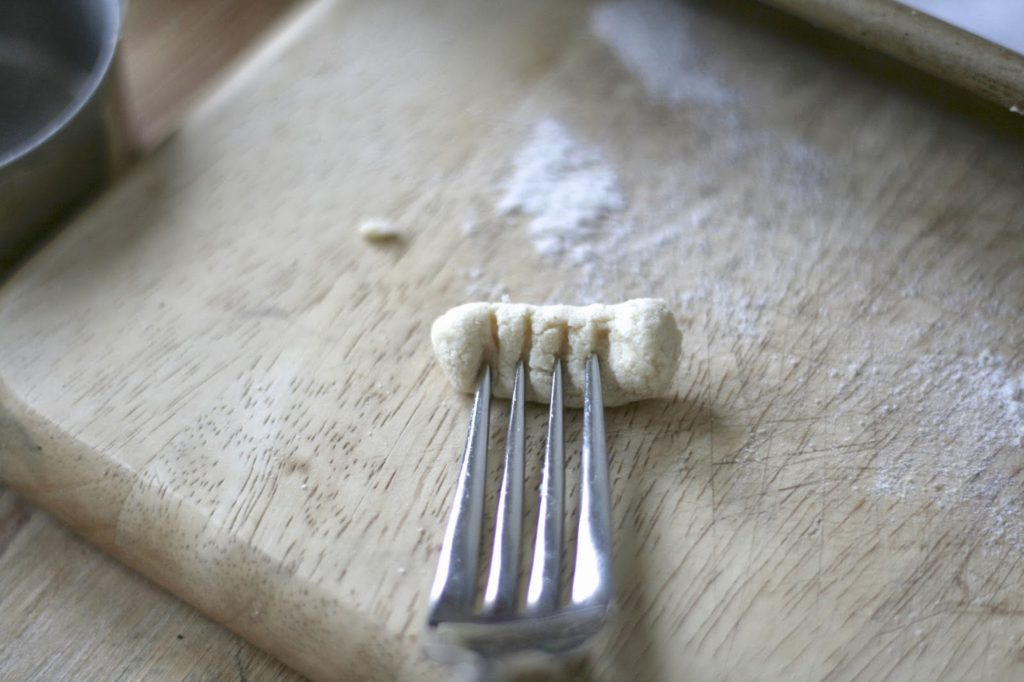
If you want the little grooves in your gnocchi (good for holding sauce), simply roll the back of a fork on each one to create the lines on one side. To be honest, I felt this was a waste of time… but they do look pretty! Plus, I feel like I’ve had more gnocchi without the grooves in my day than with, so I decided to go groove-less gnocchi.
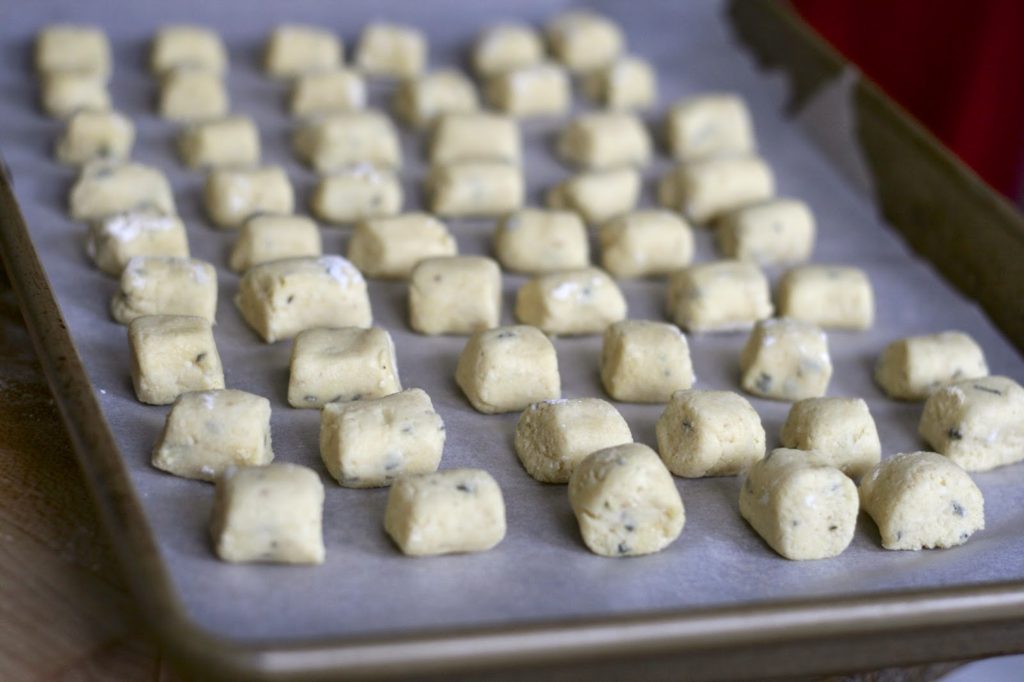
Put your gnocchi on a sheet pan lined with parchment paper and dusted with flour. You can either refrigerate (probably not longer than an hour or so), or freeze them until hard and then transfer to a freezer bag. (A good option if you are doubling the recipe). The frozen gnocchi cooks up just as easily as the non-frozen ones, so this is a great option for make-ahead meals. Just a reminder… this gnocchi is best when eaten right away, so only cook what you need.
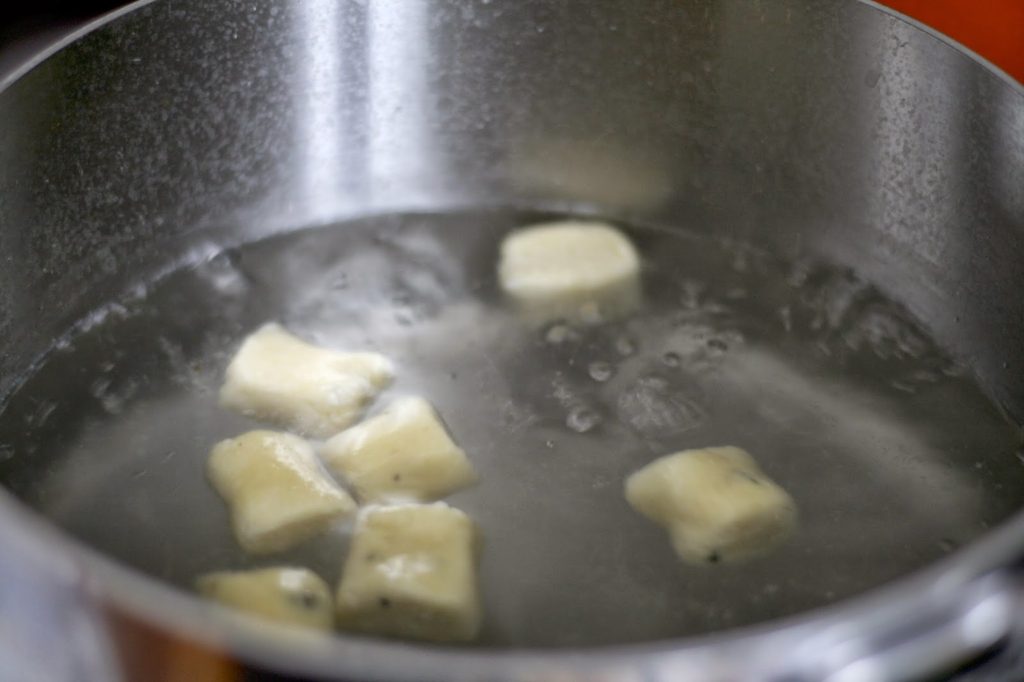
To cook the gnocchi, drop it into a pot of salted, boiling water (working in batches). You don’t want a rolling boil, more of a simmering boil… a few bubbles is all. The gnocchi will initially sink to the bottom, but they should start floating after about a minute. Once they start floating, cook them for another 3-4 minutes. (Remember to test your dough ahead of time to figure out the proper cooking length). Drain and repeat with remaining gnocchi.
Oh, and if you’re cooking them from frozen, just follow the same process! They might take a bit longer to float, but they will cook up in no time.
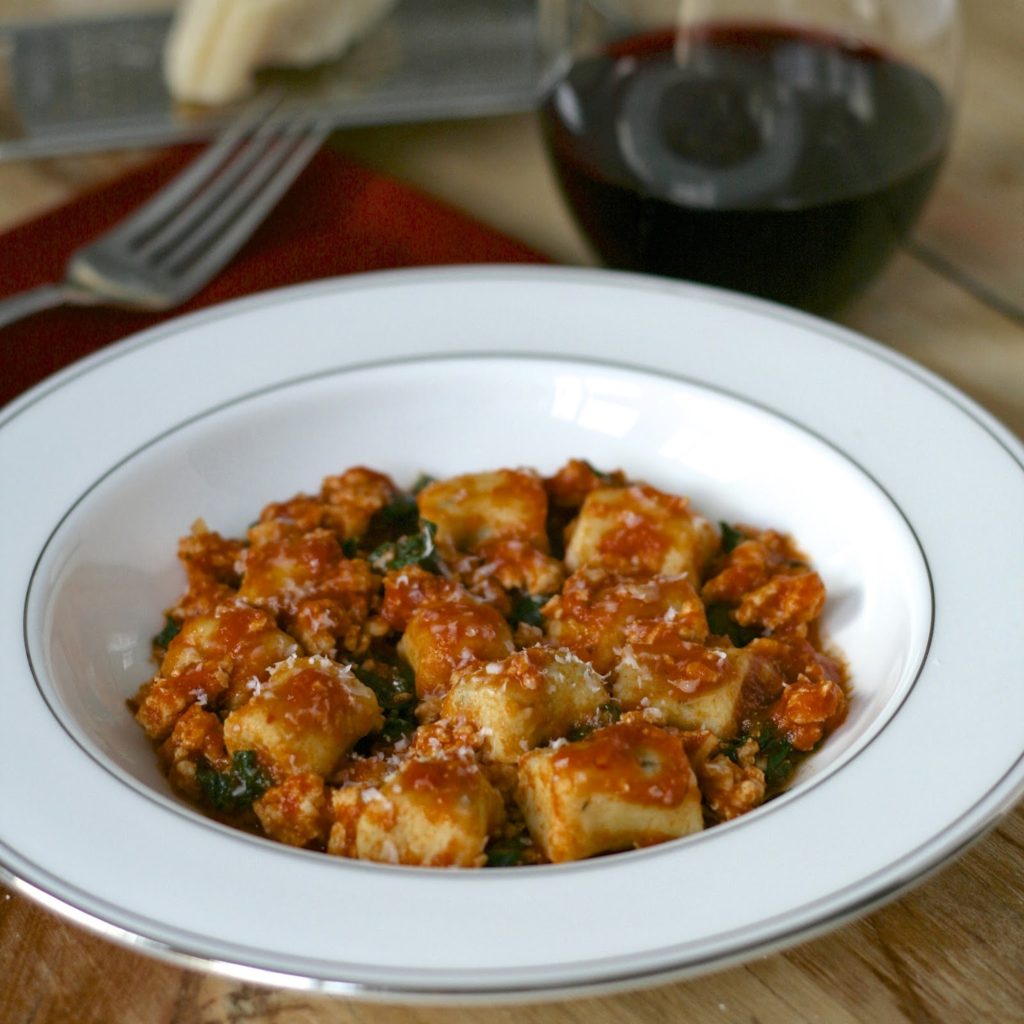
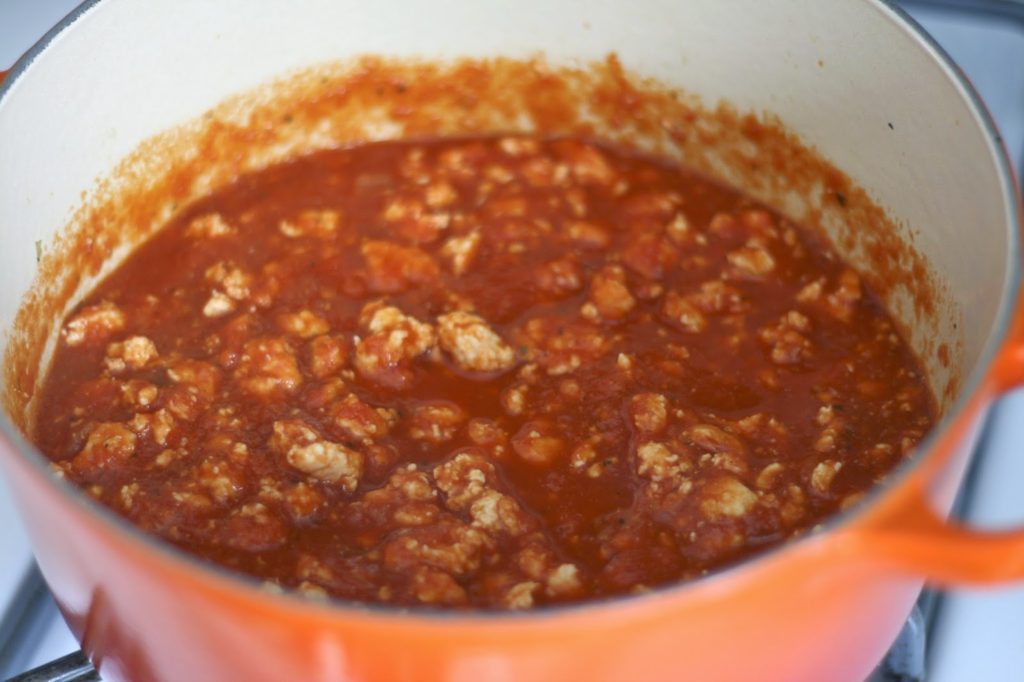
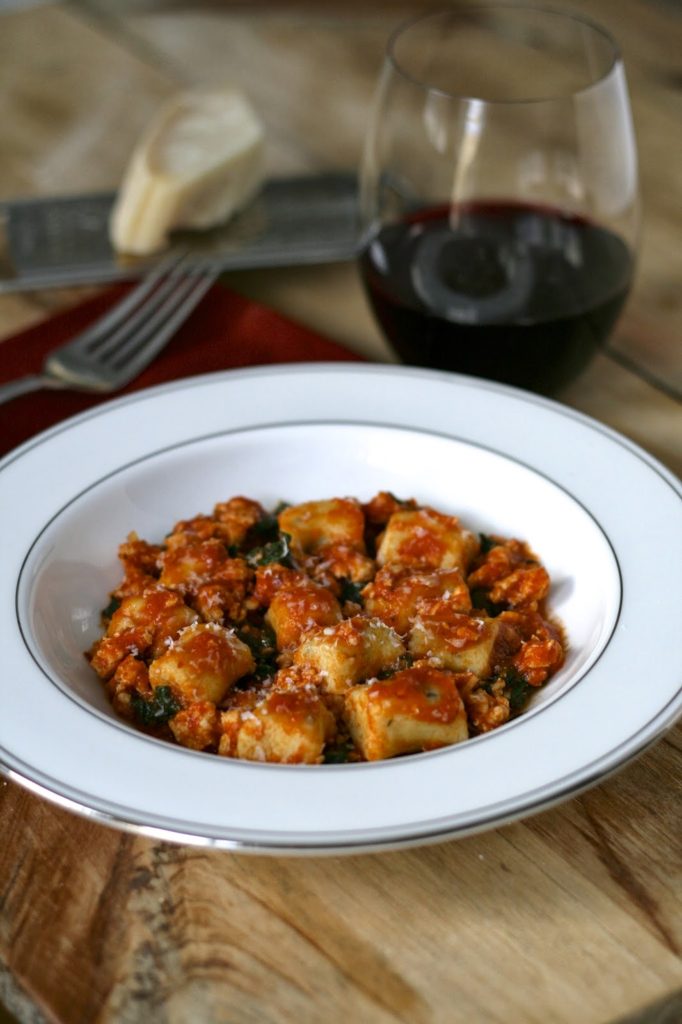
Again, you want to serve it immediately, so have whatever sauce you’re using ready to go. I was inspired by a dish I had at a local Italian restaurant (Bricco), here in West Hartford. It was a ground chicken bolognese, so I combined my easy marinara sauce (had some in the freezer) along with some cooked, ground chicken thighs. I also threw in some sauteed chard.
Another good option (and one I used for many of my first test batches) would be a simple browned butter sauce with sage. Basically use the same method from above. You can even pan sear the gnocchi a little in the butter. Both are equally delicious… just depends what you’re in the mood for!
Despite all the stress this caused initially, this actually turned out to be a super simple dish. The dough only took about 15 minutes to make, so this could easily be a weeknight meal (especially if you make them ahead of time and freeze them). And because I used low-fat ricotta, it only ended up being about 200 calories per serving with only 16 carbs and 11 grams of fat before adding the sauce.
Toss the freshly cooked gnocchi with your sauce of choice, top with some freshly grated Parmesan cheese… and you’ve got a restaurant-quality meal at home in no time at all. AND it’s gluten free! (Finally).

document.write(”);
- 8 ounces ricotta
- 1 cup gluten free flour blend (either all purpose GF flour OR this combo: 1/2 cup garbanzo bean flour + 1/2 cup tapioca flour + 1 tablespoon potato flour (for non-gluten free gnocchi, substitute with all-purpose flour))
- 1 tablespoon butter
- 1 tablespoon fresh herbs (such as sage & thyme)
- 1 egg
- 1/4 cup grated Parmesan cheese
- salt & pepper, to taste
- Set a strainer lined with paper towels over a bowl or sink. Add the ricotta and let the cheese drain for about an hour. (This can also be done overnight in the refrigerator for optimal results).
- Mix together the garbanzo bean flour, the tapioca flour and the potato flour (if using). (If you are not doing gluten-free, skip this step).
- Melt butter in a small frying pan over medium heat. Just before butter totally melts, add fresh herbs and swirl around. Allow it to cook for another 30 seconds and remove from heat.
- In a large bowl, thoroughly mix the strained ricotta, the herb/butter mixture, egg, and Parmesan cheese. Season with salt and pepper. Add flour mixture, a couple tablespoons at a time, until you have a slightly tacky dough. (You will likely only need a half cup total for this part).
- Before shaping, put a large, salted pot of water on the stove to bring just to a boil. Sprinkle a parchment-lined baking sheet with some of the remaining flour mixture.
- Dust your hands and work surface with a little of the remaining flour mixture. Break off a tennis-ball sized piece of the dough and roll it into a thick rope, about 3/4-inch thick.
- Using a bench scraper, cut the log into 3/4-inch “pillows.” You can leave them as is or shape them into grooved gnocchi by rolling them off the back of a fork.
- Transfer this batch to the prepared baking sheet. Repeat rolling process with the remaining dough. (You’ll likely do this four times).
- Working in batches, add some of the gnocchi to the boiling water. Once they float to the surface, let them cook an additional 3-4 minutes. Remove gnocchi with a slotted spoon or skimmer and transfer to a colander set over a bowl to finish draining. Repeat with remaining gnocchi.
- Toss the gnocchi with sauce, top with additional Parmesan, if desired, and serve immediately.

gramps
January 11, 2014 at 7:11 pmHmmmmm—don't know if my comments got thru to you.
My Grand Daughter has Celiac Disease so my Daughter is a pro at gluten free cooking. She swears by an all-purpose flour called CUP 4 CUP. Whole Foods carries it out here in Northern California—and you can also buy it on-line.
PS—we miss you out here in the West
jaymeesire
January 17, 2014 at 2:37 amGreat call, and I added an update above suggesting that. I actually WANTED to use that, but they don't carry it here at the whole foods. I've purchased it as a gift in the past, and sampled GF pasta at Locanda in SF using it.
Anonymous
March 2, 2014 at 12:15 amI made it with King Arthur Flour gluten-free multi purpose flour and it turned out great!!! I've never made gnocchi before so this was wonderful. Thanks for then great recipe!!
jaymeesire
March 2, 2014 at 2:36 amAwesome!! How much did you use? I might update the recipe.
list of new restaurants in Jaipur
June 9, 2015 at 9:03 amI’ve made pasta for many years, but have never tried gnocchi. And I didn’t even know you could make gnocchi with ricotta – so interesting. I’d love to try this!